Downloads
Solar Energy

Fronius Snapinverterquick installation guide

We make unrivalled easy installation possible 

Installing a Fronius SnapINverter couldn't be easier thanks to our unique mounting system and lightweight components. Follow this step-by-step guide and see for yourself just how easy it is.

This guide is aimed to assist solar installers to provide a professional customer experience to their end customers.


Important Update – How to ensure your Fronius Snapinverter is compliant with AS/ NZS 4777.2:2015

The 12 month transition period between the old AS/NSZ 4777.2 & 3:2005 and the new AS/NSZ 4777.2:2015 Standard has ended.

The Fronius SnapINverter range has been tested and certified to the new Standard and will not require any hardware changes.

In order for Fronius inverters to meet the new compliance standards, any inverter installed after October 9 will require a temporary software and firmware update.

Watch our webinar about the main changes in the new standard. Topics include updating Fronius inverters to be compliant, potential field issues that may arise and solutions.

Downloads

    Webinar New AS 4777.2015 - What does this mean for installers

    Step 1 - PV System Design

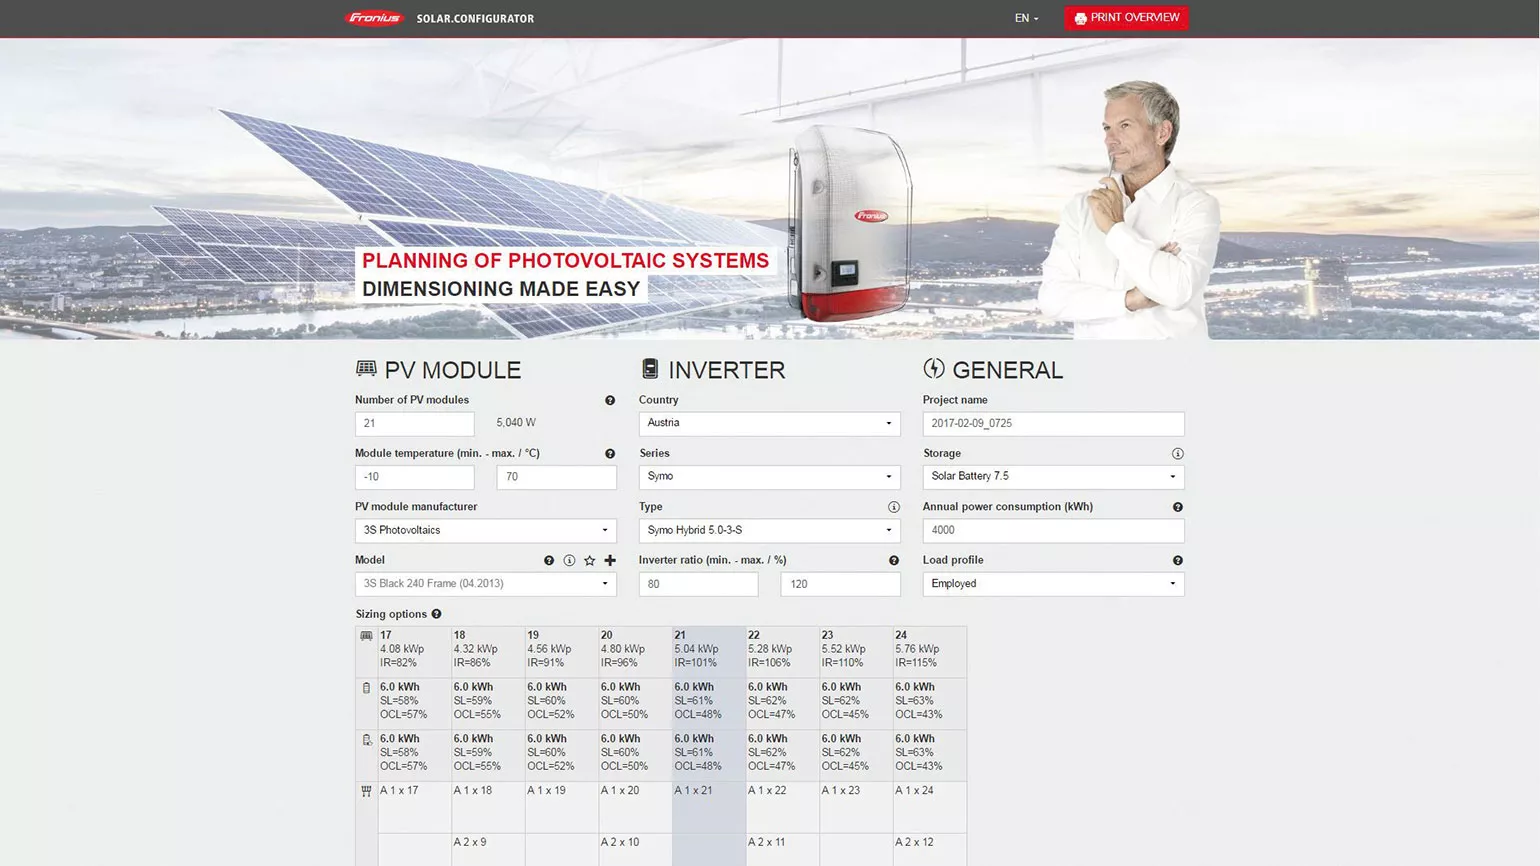
    The Fronius Solar.configurator online tool is specifically designed to support PV systems. It calculates the ideal combination of solar modules and Fronius inverters. The online design tool ensures that the latest solar module and inverter data for system configuration is always available for use.

    Step 2 - Installation

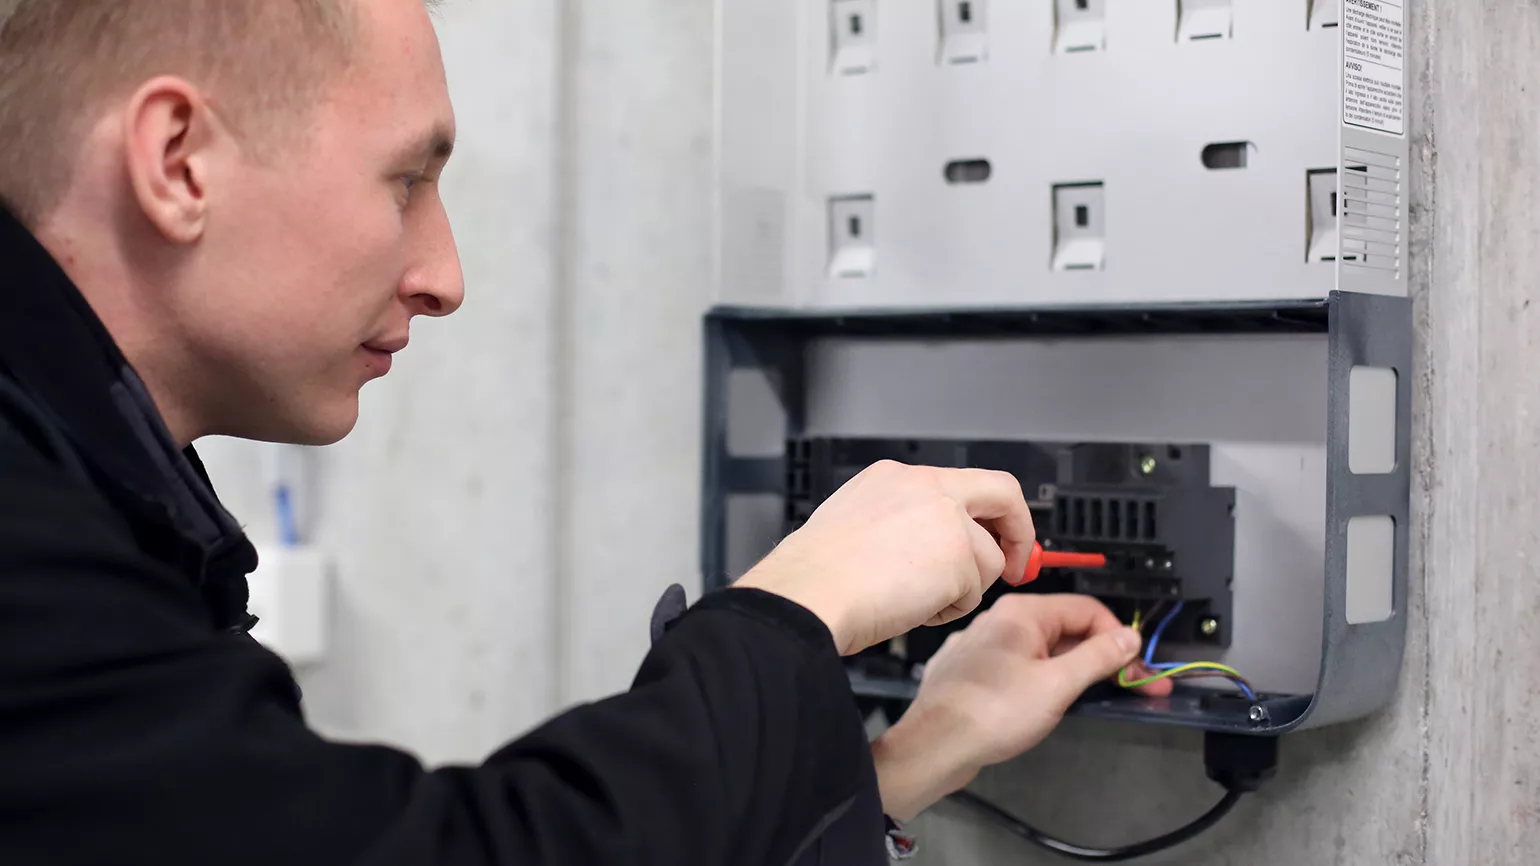
    Installing a Fronius SnapINverter is remarkably simple. All cabling is carried out in the integrated connection area of the wall bracket, while the compact, lightweight inverters of the Fronius SnapINverter generation contain all the required power electronics; they simply have to be placed into the wall bracket and swivelled into position. On top of this, the entire installation process can be carried out using standard tools.

    Downloads

      Step 3 - Update software

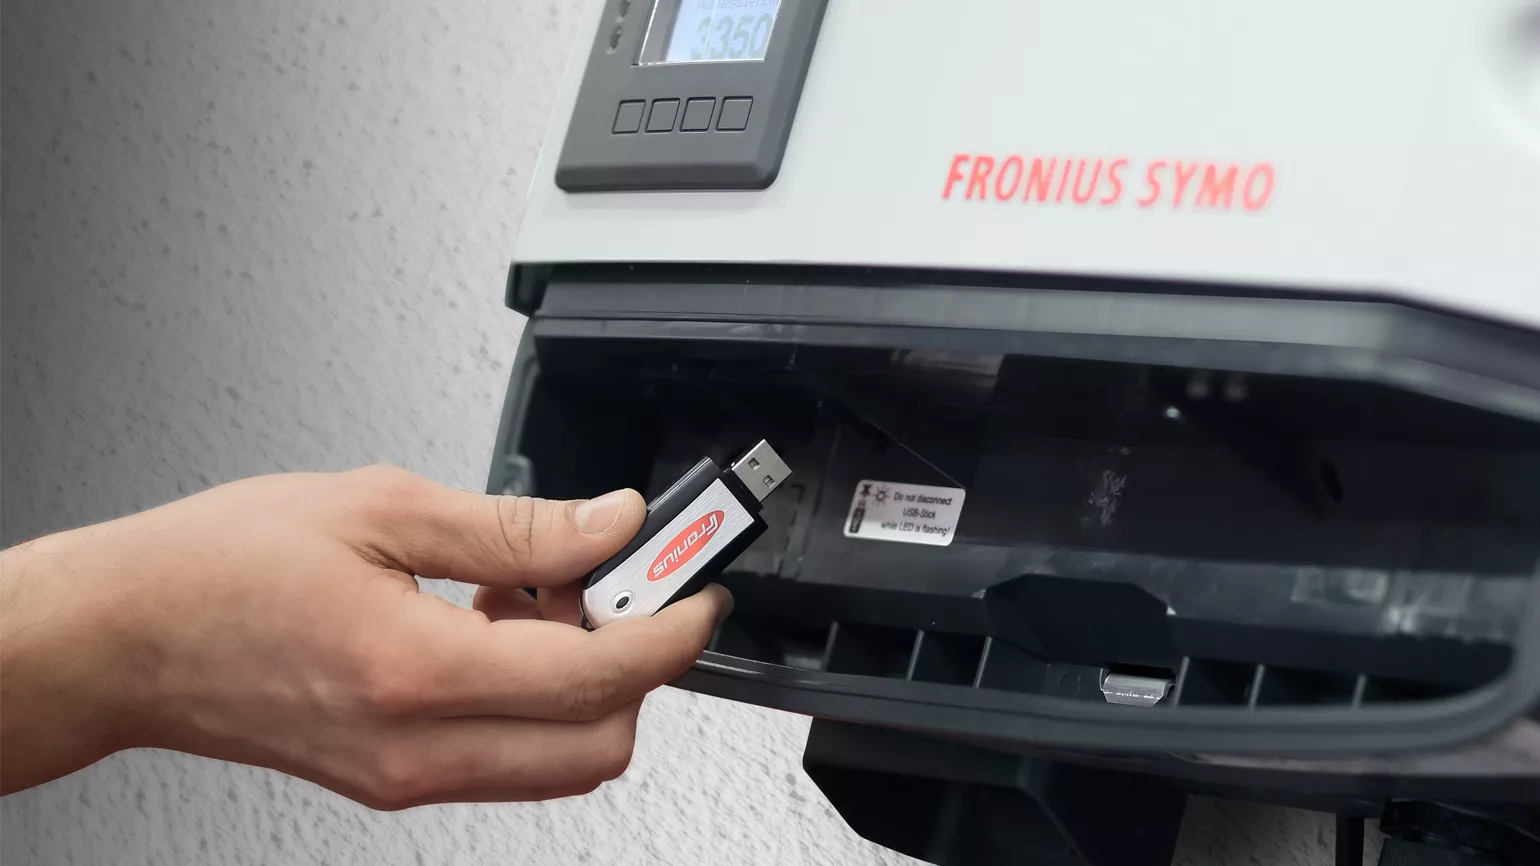
      Needless to say, we will always provide the latest updates for your equipment as well as any required driver software. Easy-to-install updates will ensure the software on your inverters and other devices is always up to date.

      Step 4 - Fronius Online Monitoring

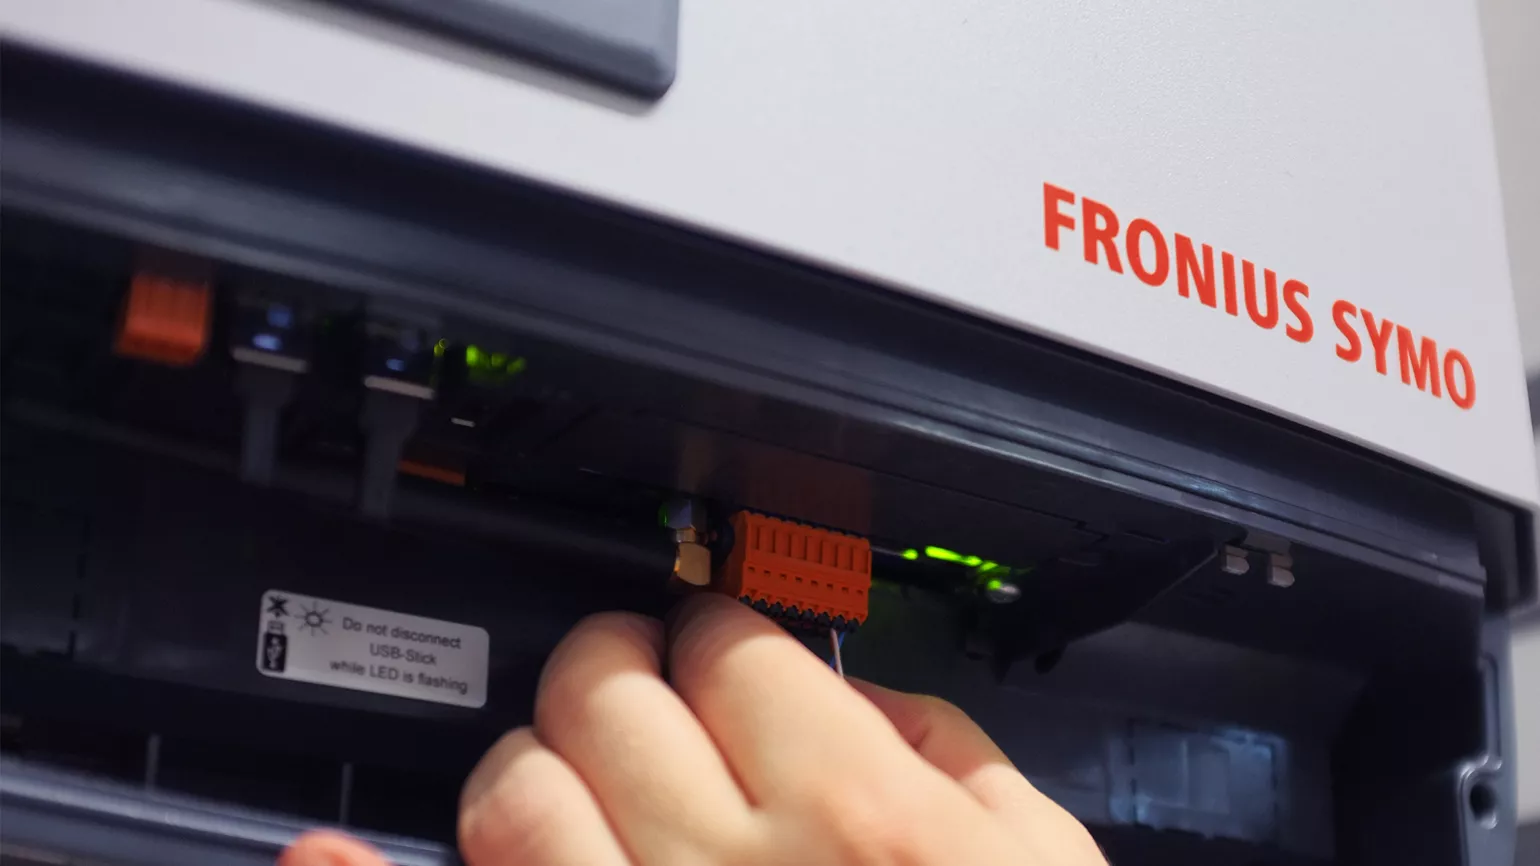
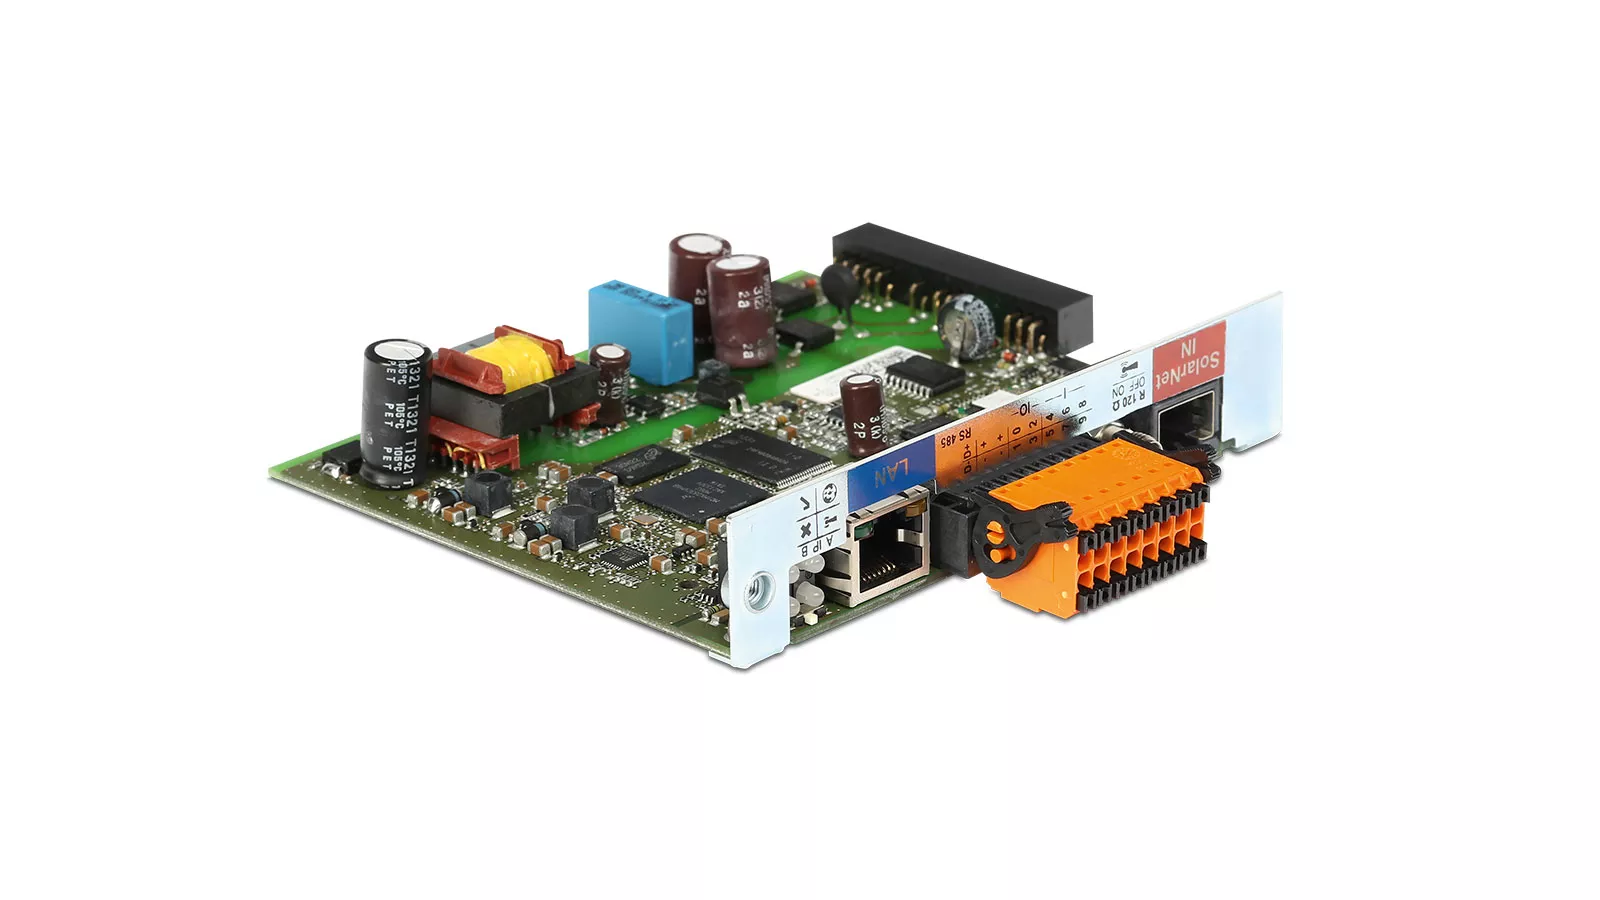
      The Fronius DATCOM provides data communication solutions for photovoltaic systems, ensures reliable system monitoring and allows straightforward integration into other systems. The Fronius DATCOM can also be customised to suit individual needs and can be extended at any time.

      Downloads

        Step 5 - Adding your System to Solar.Web and assigning permissions to a system

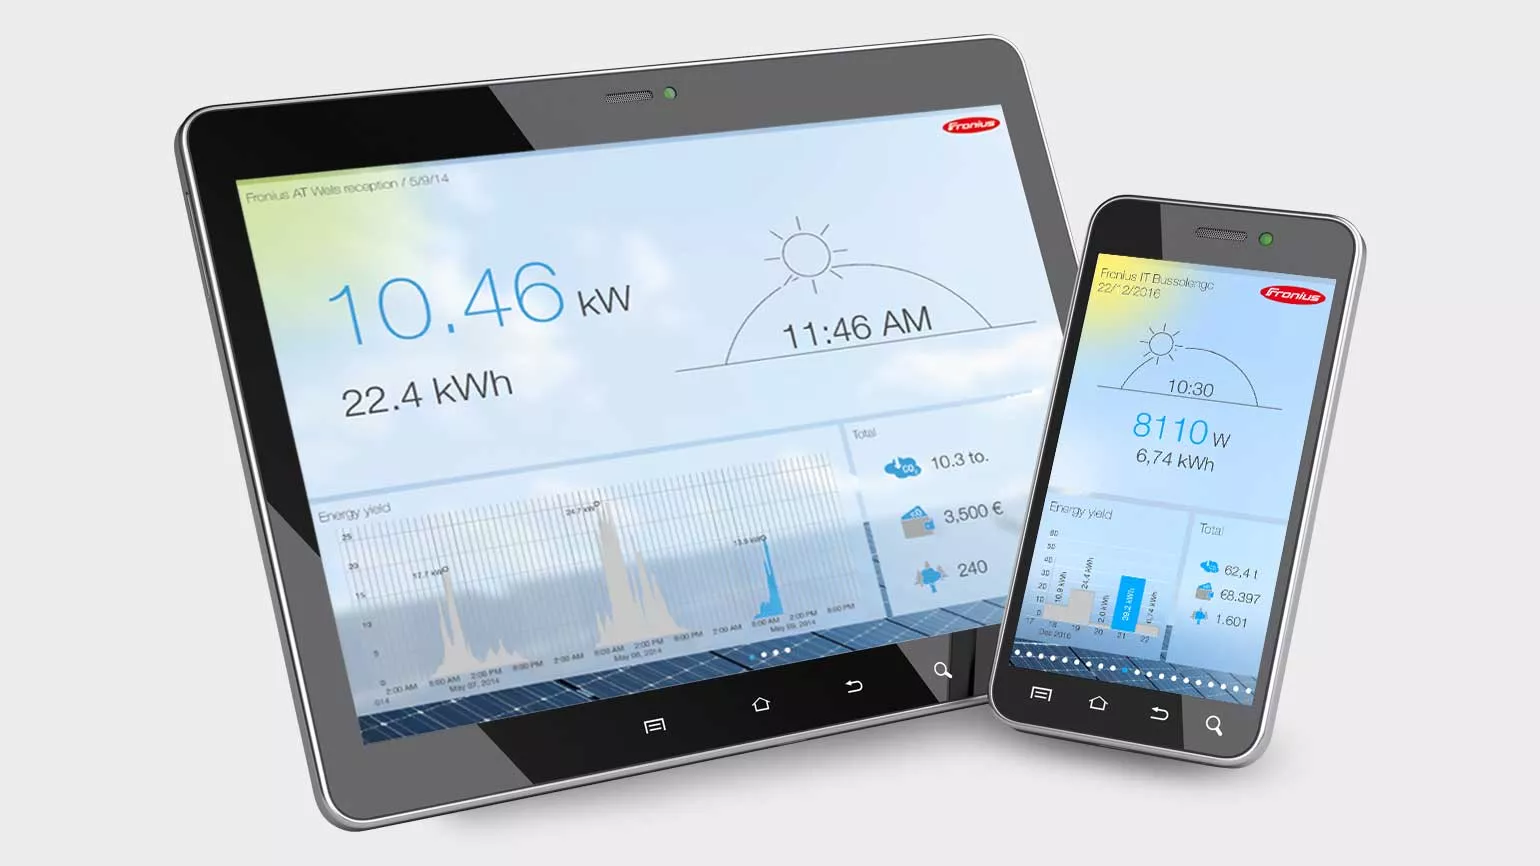
        Fronius Solar.web is the all-in-one internet portal for configuring, monitoring, analysing and visualising photovoltaic systems.

        Downloads

          Step 6 - warranty registration

          Downloads

            step 7 - Advanced features

            All Fronius inverters feature an innovative combination of technical performance attributes, allowing for simple yet flexible PV system design.

            Downloads

              Step 8 - Fronius Solar Online Support Tool

              To allow for hassle-free servicing, the Fronius SOS portal offers a number of helpful features including data query and troubleshooting; with the possibility to place orders for replacement parts. In only a few steps, installers are guided through the process of the servicing work – saving valuable time.

              Downloads