TPS/i WireSenseThe Welding Wire as Sensor
Industrial production demands advanced robot technology yet inaccuracies repeatedly occur, even though almost perfectly interlinked systems are now the norm. Variations in the expected weld seam paths are commonplace and result in a range of problems and fusion errors in joining technology: Burn-through, inadequate a-dimensions, faulty or even missing joints between upper and lower sheets are just some of the possible scenarios. Ultimately, these result in costly rework, component waste and occasionally massive delays in cycle times.
Measuring Tools
The ideal solution in situations where the sheets being joined deviate excessively from the programmed welding position is to implement the correction before welding begins. To date, the usual approach has been to carry out a manual inspection or use optical measuring systems. The cameras in such cases are usually installed on the torch bodies. But it is precisely this that causes the problems: The angle and shape of the torch can restrict the welder's view of the welding seam. A more frequent problem, however, is that the cameras obstruct access to the component, as there is simply no space for optical measuring tools. The harsh working conditions also take their toll on these highly sensitive and extremely expensive systems, making repeated maintenance or calibration necessary.
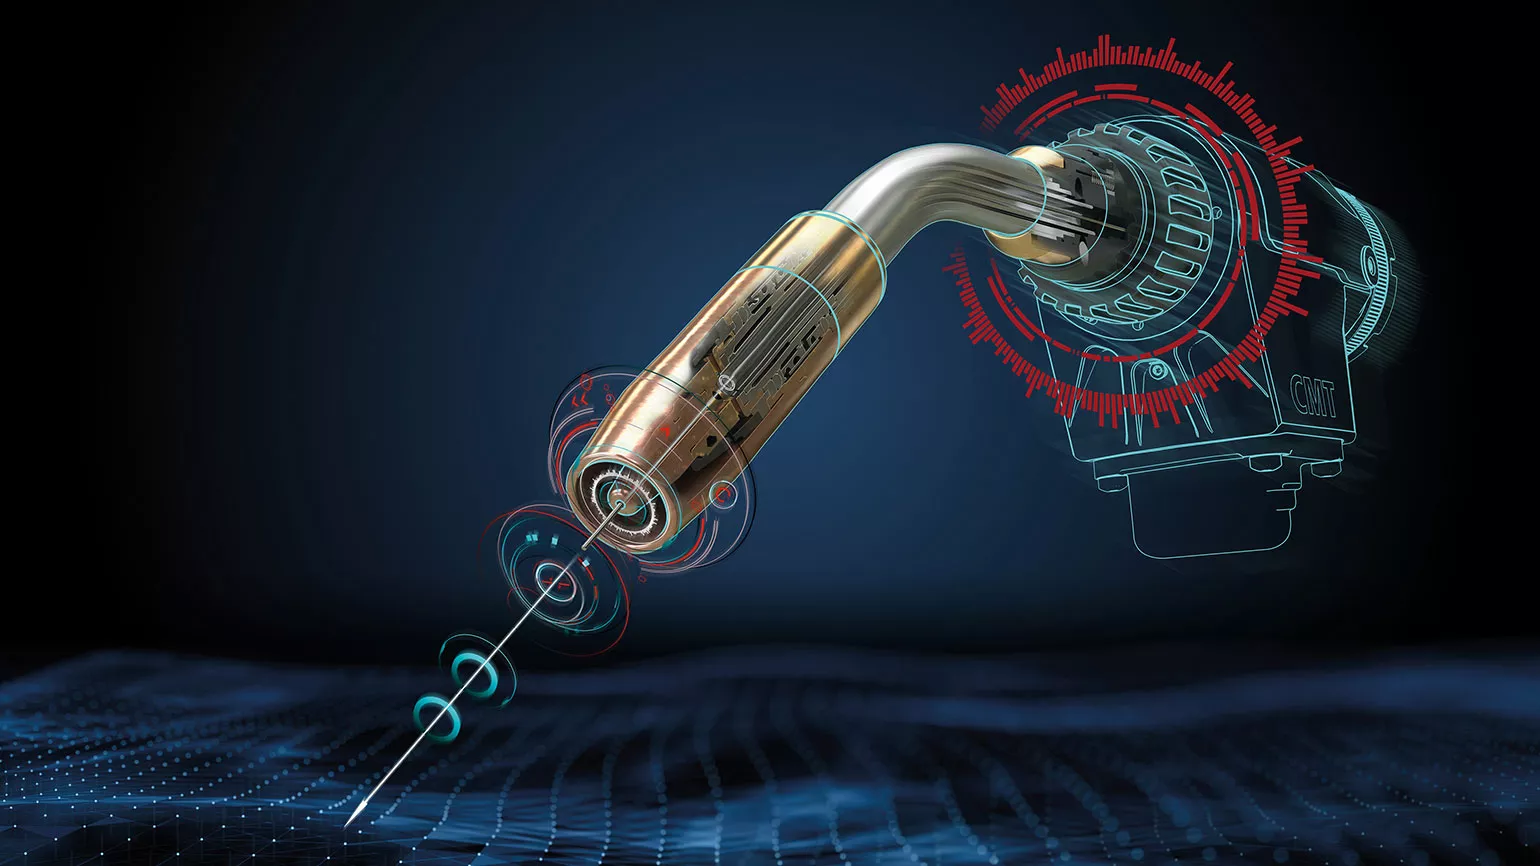
Fronius noticed the glitch in the system and reacted to this complex robotic welding challenge by developing WireSense. The power source has thus been further enhanced by the addition of yet another important innovation – the welding wire is now the sensor. Highly precise sensing involving frequent reversing wire movements enables component geometries to be recognized and the relative position of the individual sheets to be determined extremely accurately.
How WireSense Works
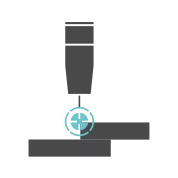
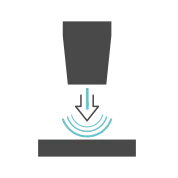
A very low sensor voltage is applied to the welding wire, reducing the current to a minimum. When the robot moves to the required position and starts the WireSense process, the welding wire touches the component and creates a short circuit. Due to the extremely low power levels, however, no welding is performed. The short circuit is then cleared by raising the wire. The change in the position of the welding wire at the instant the short circuit is created is analyzed by the intelligent TPS/i power source using special evaluation algorithms and presented as a height measurement signal for later use – for example by the robot controller.
WireSense – Only with the Help of Robots
When the robot receives the signal from the TPS/i, it can allocate it precisely using the present position or location within the three-dimensional area. This is done by reconciling the height measurement signal with the current positional data from the robot controller using the three-dimensional coordinate system. Every raising and lowering operation on the component can therefore be recorded extremely accurately relative to a reference point specified at the start of the WireSense process.
A subsequent step might, for example, involve a comparison of target and actual values, checking the stored values against the actual position data. If there are any differences, the robot performs the relevant calculations and corrects either the respective coordinate system or what is known as the tool center point (TCP). This procedure compensates for changes in the position of the component and is what makes WireSense possible in the first place.
AT A GLANCE: Advantages of WireSense
Component Recording, Gap and Edge Detection
If the robot and WireSense were to be moved over the workpiece along an infinite series of sequential paths, recording every point in the process, it would theoretically be possible to construct a complete 3D component contour. This is how contour sensing gets its name.
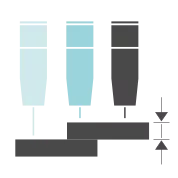
However, the most important feature for manufacturing applications is probably the edge detection function, for example on lap joints. This function uses height measurement to reliably detect a defined sheet edge. Here as well, measured values that precisely mirror the height of the sheet edge must be specified in advance. The robot controller then sends these threshold values to the TPS/i just before the WireSense process begins. Should the power source detect values that lie above this threshold value, this indicates that the edge of the sheet has been detected and the TPS/i immediately outputs a digital Touch signal. The robot controller uses this signal to first save the current positional data before subsequently correcting the tool center point. Any component inaccuracies are recognized automatically by the robot as an edge displacement and are compensated for to obtain perfect welding results. Also noteworthy is that edge detection can be carried out on light gage sheet that can be as thin as 0.5 millimeters.
As the precisely measured sheet edge height is also transmitted with the digital Touch signal, WireSense can recognize any gaps between the sheets – another factor in favor of the wire sensor. The electrode has already accurately recorded the overall height of two overlapping sheets, so it is then a simple matter to perform the appropriate calculations using the actual values. The robot can therefore use this measuring function to allow for gaps of various sizes by adjusting every individual welding parameter according to the respective situation. It then carries out the welding operation autonomously with adequate gap bridging. Assuming the different gap sizes have been specified in advance, the various welding programs – or jobs – stored in the TPS/i can be called up as required.
Sometimes the detected gap sizes are so large that a reduction in welding speed and an adjustment in power are no longer sufficient. In situations where standard or pulsed arcs are reaching their limits, the robot can fall back on the Cold Metal Transfer welding process from among the TPS/i job functions: Since the CMT hardware components have to be fitted to the power source in order to use WireSense, we recommend purchasing the CMT software package at the same time. One of the features of CMT is reversing wire movement, which ensures that as much of the gap as possible is bridged using the lowest levels of heat input.
Unrivaled Precision: Signaling with CMT Ready
Outputting a signal at the instant a short circuit occurs is not in itself a unique selling point. In addition to exemplary internal data communication speeds, the main prerequisite for position measurement using the wire electrode is the highly dynamic Fronius CMT drive. An alternative is the 'CMT Ready system' – consisting of a wirefeeder on the wire drum, a wire buffer and a CMT Robacta Drive, in other words a second wirefeeder on the torch itself. The electric motor located within the wirefeeder starts a reversing (forwards/backwards) wire movement, which takes place at around 100 Hz, and causes the wire to scan the metal surface. It is this high-frequency scanning of the workpiece that provides the necessary levels of precision and resolution.
Another decisive factor is the powerful, microprocessor-controlled motor controller. Depending on the selected wire material, this specifies the required wire speed profiles and customized acceleration and braking values. These are important if damage caused by twisting or bending as the wire touches the surface is to be avoided. It is likewise possible to further increase precision by reacting appropriately to the slip values. These are the inaccuracies caused by slippage of the feed rollers and vary depending on the wire material.
To detect the wire position at the instant the short circuit occurred, this information is precisely back-calculated from the actual value pick-up signals of the drive motor and a corresponding Touch signal is generated. Depending on the length of the stick out at the moment of impact, all changes in height are also recorded, calculated and transferred to the robot – clearly important for the exact measurement and subsequent detection of the sheet edges.
Another feature of the algorithm for the precise detection of the sheet edge height deserves a mention: Even if the surface being scanned is uneven, for example because the sheets are lying at an angle, the edge can still be detected and measured without any difficulty.
WireSense – A Step Towards Autonomous Production
Is the critical measurement function located in the robot – or in the power source? The question as to which plays the bigger part has now been satisfactorily answered: What's so clever about the invention is its simplicity. By using the highly sensitive and dynamic CMT drive, together with special controller software, Fronius has managed to extend the basic functionality of a globally established and – in the field – indispensable welding process (CMT) to make measurement processes possible for the very first time. A welding wire can only become a sensor through the interplay between the unique CMT hardware, the highly advanced motor controller and the smart control software. WireSense works with all standard CMT welding equipment using any of the popular filler metals.
Fronius is now making this sensor available to its customers. It is important to be aware, however, is that in-depth knowledge of robot programming is vital. The use of WireSense is therefore best left to robot or system integrators, who should accordingly be instructed by customers to implement the sensor technology integrated in the power source into the respective manufacturing process. What would be preferable in the future would be simple user interfaces in the form of ready-made applications that are customized for the robot system in question.
On the one hand this would provide a universal, simple and practical way of using WireSense. More important, however, is that industrial production would have moved up a level: A crucial step towards autonomous production.


